
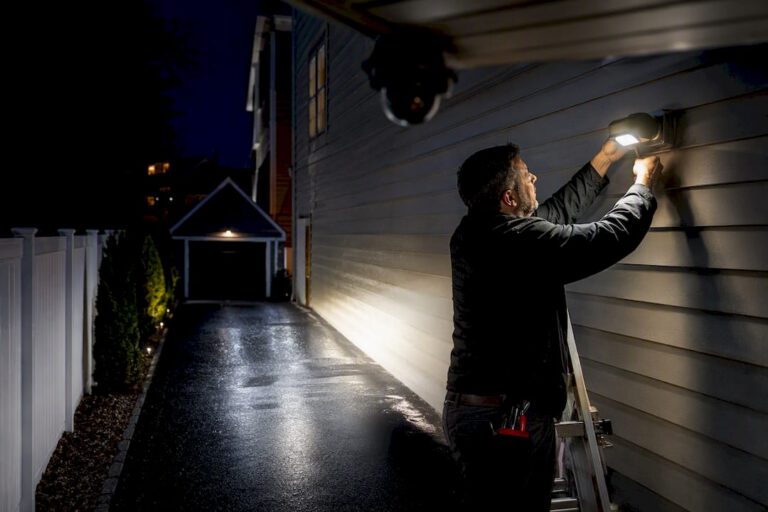
The best approach pairs white light matched to your camera’s lux rating for anything you need to identify later, and reserves infrared for spots where you want the camera invisible. Motion activation should supplement, not replace, a baseline level of light. If you’re running more than two or three cameras, dealing with mixed backgrounds, or need footage that holds up as evidence, get a professional to commission the system rather than guessing at fixture placement yourself.
TL;DR:
- Proper security lighting should match your camera’s lux rating and be aimed to illuminate faces or license plates without causing glare or overexposure.
- Using white light for identification tasks provides better color detail and analytic accuracy than infrared, which is best suited for detection-only zones.
- Lighting fixtures should be selected based on measured lux at face height, with 20 to 30 lux being ideal for facial recognition; beam angle and mounting height are also critical.
- Fixtures should be installed with lights outside the camera’s field of view, aimed across scenes to avoid silhouettes and glare, and tested at multiple distances for optimal coverage.
- For multiple cameras or evidence-grade footage, professional commissioning ensures fixtures, aiming, and exposure settings are precisely calibrated and reliable over time.
Table of Contents
- How Security Lighting for Cameras Actually Improves Footage
- Lumens, Lux, CCT, and the Numbers That Actually Matter
- Which Fixture Type Fits Which Job
- Where to Mount Lights So the Camera Can Actually Use Them
- Getting Lights and Cameras to Cooperate on Motion
- What a Proper Commissioning and Maintenance Plan Looks Like
- What Lighting for Cameras Actually Costs
- What Homeowners Get Wrong About Lighting Their Cameras
- When It’s Time to Call a Pro for Camera Lighting
- Sources
- FAQ
How Security Lighting for Cameras Actually Improves Footage
Most homeowners assume a camera’s job is to “see in the dark.” It isn’t. A camera’s job is to produce usable images, and darkness is the single biggest thing standing in the way. Without adequate light, sensors compensate with digital gain, which introduces grain and static-like noise into every frame. That noise doesn’t just look bad. It confuses video compression, forcing the camera to write more data because it can’t tell real motion from sensor noise.
Proper lighting fixes this at the source. According to a Raytec white paper on lighting for network cameras, adding the right illumination can significantly cut bandwidth and storage requirements compared with low-light infrared-only footage, since compression algorithms work far more efficiently when pixels stay stable between frames. That’s not a minor side benefit. It’s often the difference between a system that stores 30 days of footage and one that stores 10.
Lighting needs also change depending on what you’re actually trying to accomplish:
- Detection (noticing something moved) needs the least light and the widest coverage.
- Recognition (telling a person from a vehicle or animal) needs moderate, evenly distributed light.
- Identification (reading a face or license plate well enough to use in a police report) needs the most light, aimed precisely where faces and plates will appear.
Visible white light generally wins for identification because color and detail read better to both people and video analytics. Infrared works well for detection in areas where you don’t want a visible light source, but it strips out color entirely and tends to wash out faces at close range with overexposed “hot spots.” A Senstar overview of security lighting notes that lighting works best when it’s treated as one integrated layer alongside the camera and any perimeter detection system, not as an afterthought bolted on after the cameras go up.
Lumens, Lux, CCT, and the Numbers That Actually Matter
Lumens tell you how much total light a fixture produces. Lux tells you how much of that light actually lands on a surface, which is the number that matters to your camera. A 3,000-lumen floodlight mounted 30 feet up might deliver less usable lux at ground level than a 1,200-lumen fixture mounted at 10 feet, because light intensity drops off with the square of the distance. Double the distance from a light source and you get a quarter of the illumination, not half.
For faces, that distinction gets more specific. Lighting designers recommend targeting 20 to 30 lux measured vertically at face height, not just horizontal lux on the ground, according to DW Windsor’s guidance on lighting for facial recognition. A driveway can look brightly lit on the pavement while a visitor’s face at the front door sits in relative shadow, because most fixtures throw light downward, not outward.
A few other specs worth knowing before you buy anything:
- CCT (color temperature): 4000K to 5000K gives natural-looking color rendering for cameras without the harsh blue cast of higher Kelvin ratings.
- CRI (color rendering index): aim for a high color rendering index to improve accurate color identification of clothing or vehicles.
- Beam angle: narrower beams (25 to 40 degrees) throw light farther; wider beams (90 to 120 degrees) cover more area at lower intensity.
- Flicker: cheap LED drivers can flicker at a rate invisible to your eye but visible as banding on camera, especially at higher shutter speeds.
- Mounting height: most residential fixtures work best mounted at a moderate height that balances tamper resistance and effective illumination, high enough to resist tampering, low enough to still angle light onto faces.
Pro Tip: Check for a “flicker-free” or DC-driver spec sheet before buying budget floodlights. Cheap AC-driven LEDs can cause visible strobing in recorded video even though your eyes never notice it.
Before buying, check your camera’s own low-light spec, usually listed as a minimum illumination figure in lux. If a camera lists 0.01 lux for color mode, it’s telling you the absolute floor for a usable image, not a comfortable working level. Design your supplementary lighting to land well above that floor, not right at the edge of it.
Which Fixture Type Fits Which Job
Different jobs call for different fixtures, and buying the wrong one is the most common mistake homeowners make.
- Floodlights cover broad areas like driveways, backyards, and side yards where you want general visibility over a wide field. They’re the right call for perimeter coverage but the wrong call for a single entry point that needs sharp detail.
- Spotlights focus a narrower, more intense beam on a specific target, like a front door, gate, or garage entry. Use these where identification matters most.
- IR illuminators add invisible near-infrared light for cameras running in night mode, useful for driveways or fence lines where a visible light would announce the camera’s coverage area or annoy neighbors.
- Integrated floodlight cameras combine the light source and lens in one housing, which simplifies installation but limits your ability to aim the light and the camera independently.
That last trade-off matters more than most buying guides admit. When the light and lens share one fixture, you can’t separate glare control from field-of-view adjustment. Move the camera to fix an angle problem and you’ve just moved the light too. A Starbeam Lighting guide on combining security lighting with cameras points out that multiple lower-wattage fixtures usually beat one oversized lamp, since a single blazing floodlight tends to create harsh shadows and blown-out hot spots right where the camera needs even detail. Two or three modest fixtures spread across a yard produce flatter, more consistent light with fewer dark corners.
Where to Mount Lights So the Camera Can Actually Use Them
Placement mistakes ruin more footage than underpowered fixtures ever do. The rule installers live by: keep the light source outside the camera’s own field of view. A light mounted directly beside or above the lens tends to bloom into the frame, especially at night, creating a washed-out halo that swallows everything nearby.
Aiming the light source toward the camera is the classic error that produces silhouettes. Point a floodlight down a driveway straight at an approaching visitor and the camera behind it, and you get a black outline against a blinding background. The visitor becomes unidentifiable in the one frame that mattered most. Light should generally come from the same side as the camera, angled across the scene rather than into it.
- Mount lights at an angle that illuminates faces and areas of interest without shining back into the lens.
- Use shields or visors on fixtures near the camera to cut stray glare and light spill.
- Match beam angle to the camera’s actual field of view. According to Raytec’s guidance on lighting for CCTV cameras, a beam that’s too narrow creates hot spots in the center of the frame, while one that’s too wide wastes light and cuts your effective range.
- Test the setup at multiple distances, near, mid-range, and at the edge of the camera’s field, since a scene that looks perfect at 10 feet can be pitch black at 40.
Pro Tip: Walk the property at night with a phone flashlight app set to camera preview mode before finalizing fixture positions. If you can see glare or blown-out spots on your phone screen, your actual camera will show the same problem, only worse.
Backgrounds change too. A driveway that’s evenly lit in summer can turn into a glare trap once fall foliage drops and a streetlight suddenly reflects off wet pavement. Good commissioning accounts for seasonal and weather variation, not just a single clear night.
Getting Lights and Cameras to Cooperate on Motion
Continuous lighting works better for anything you need identifiable around the clock, entryways, driveways, and delivery zones. Motion-triggered lighting saves energy and adds a deterrent flash, but it introduces a real risk: the sudden jump from near darkness to full brightness can blow out the first few seconds of footage while the camera’s automatic exposure catches up.
Three common trigger types handle this differently:
- Photocells turn lights on at dusk and off at dawn, providing steady baseline illumination regardless of motion.
- PIR (passive infrared) sensors detect body heat and movement, good for supplemental bursts of brighter light but prone to false triggers from cars, animals, and wind-blown branches.
- AI-based triggers, increasingly built into modern camera systems, distinguish humans and vehicles from other movements, cutting down on nuisance activations compared to older PIR-only setups, with typical detection ranges in the 30 to 40 foot range for most residential units.
The fix for exposure lag is configuration, not hardware. Set your camera’s exposure and gain settings to adjust quickly, and test the actual transition, not just the static “light on” and “light off” states. Walk into frame right as a motion light triggers and check the recorded clip afterward. If the first two seconds are a blown-out white rectangle, your camera’s auto exposure needs tuning or your trigger delay needs adjusting so the light comes on a half second before the person enters frame.
What a Proper Commissioning and Maintenance Plan Looks Like
Buying good fixtures gets you halfway there. Commissioning is the process that makes them actually work with your specific cameras, and it’s the step most DIY installs skip entirely.
- Take handheld lux readings at multiple points in the camera’s field, both horizontal and vertical, to confirm light actually reaches face height where it matters.
- Tune the camera’s AGC (automatic gain control) and BLC (backlight compensation) settings against the measured light levels rather than factory defaults.
- Adjust beam angle and dimming so the scene reads evenly from the closest point to the farthest edge of the frame.
- Set up photocell thresholds and any remote dimming controls so light levels can be tweaked after installation without climbing a ladder.
- Run acceptance tests: capture footage at multiple target distances, verify any analytics (motion zones, line crossing) trigger correctly under the new lighting, and keep written documentation of settings and lux readings for future reference.
This kind of measurement isn’t guesswork. Installers commonly use a handheld lux meter to record readings at several points across a scene, which is what actually guides beam and dimming adjustments so a camera’s exposure stays consistent from one side of the yard to the other.
Pro Tip: Ask any installer for the manufacturer’s test documentation, including UL or ISO 9001 certification, before signing off on a lighting package. Legitimate manufacturers can produce these on request; vague answers are a red flag.
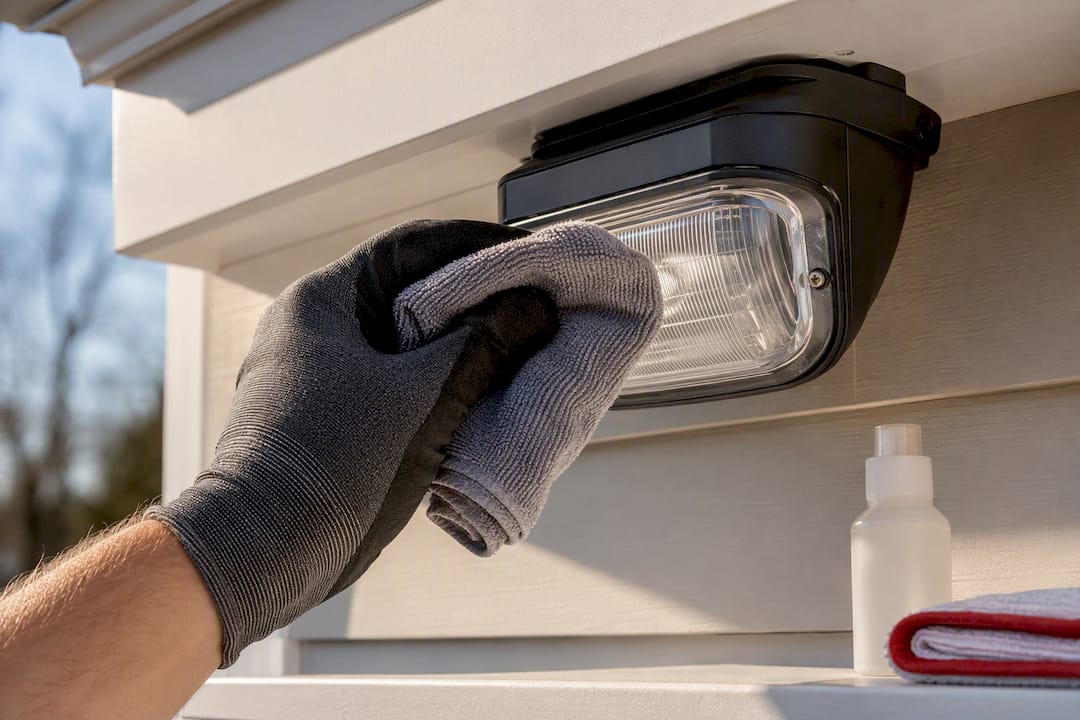
Maintenance afterward is simple but easy to neglect: clean fixture lenses twice a year, check for firmware updates on smart or networked lighting, and re-test lux levels annually since LED output degrades slowly over years of use.
What Lighting for Cameras Actually Costs
A single decent floodlight with basic photocell control runs in the economy range, while mid-tier fixtures with dimming and better optics cost more per unit but need fewer of them to cover the same area evenly. Professional-grade illuminators with adjustable beam angle, telemetry input, and proper IP65 weatherproofing sit at the top of the range, and are usually the right call for larger properties or anywhere evidence quality matters.
Sizing follows a rough formula: figure out your target lux for the task (detection, recognition, or identification), then work backward from fixture output and mounting height to figure out how many units you need to hit that number evenly across the area, rather than in one bright pool with dark edges elsewhere.
- LEDs use a fraction of the electricity older halogen floodlights burned through, cutting the ongoing energy bill.
- Photocells and dimming schedules avoid running full brightness all night when a lower baseline level would do.
- Better lighting reduces camera storage costs by cutting the bandwidth-heavy noise that fills up an NVR faster than clean footage does.
The real cost of a lighting setup isn’t the fixture price tag. It includes installation labor, commissioning time to actually tune the system to your cameras, and any ongoing support if something drifts out of adjustment. A Raytec buying guide recommends requesting manufacturer test reports before purchase, since claimed lumen output and real-world performance don’t always match, and a fixture that underdelivers on light output ends up costing more in storage and rework than it saved on the sticker price.
What Homeowners Get Wrong About Lighting Their Cameras
Most advice on this topic treats lighting as a brightness problem. Buy a bigger floodlight, solve the dark yard, done. That’s backwards. The actual variable that determines whether footage is usable is placement and beam control relative to the camera, not raw lumen output. I’ve seen plenty of driveways lit up like a parking lot that still produce useless silhouettes, because the light source sits on the same axis as the lens instead of angled across the scene.
The other blind spot is treating every camera the same. A driveway camera meant to catch a license plate needs a completely different lighting spec than a backyard camera meant to just flag that something moved. Homeowners buy one fixture type and slap it everywhere, then wonder why the footage that matters most, the one frame with a face in it, comes out as a dark blur.
If you take one thing from this: measure before you buy. Figure out what job each camera is actually doing, detection, recognition, or identification, and size the light to that job specifically. Everything else, the fixture brand, the wattage, the smart features, is secondary to getting that match right.
— Tom
When It’s Time to Call a Pro for Camera Lighting
DIY lighting works fine for a single camera watching a front porch. It stops working once you’re dealing with multiple cameras covering overlapping zones, mixed lighting backgrounds like a driveway that borders a neighbor’s motion light, or any situation where footage might need to hold up as evidence. Getting beam angles, exposure settings, and trigger timing to cooperate across several cameras at once is a commissioning job, not a weekend project.
Some security camera companies design and commission lighting as part of the camera system itself, rather than as a separate afterthought bought off a shelf. That means an on-site evaluation that matches fixture specs to what each camera actually needs to capture, proper aiming and beam control during install, and documentation you can reference if a fixture ever needs adjustment down the line. For homeowners weighing a DIY floodlight kit against a system designed to work with cameras, this is the difference between hoping the footage comes out clear and knowing it will.
If you’re ready to get your property properly lit and covered, start with a security camera installation that includes lighting placement in the initial design, backed by a $99 one-time installation fee. Homeowners who want ongoing monitoring alongside their cameras can also look into alarm monitoring plans running $24.95 to $29.95 per month. Either way, get an on-site assessment before buying a single fixture.
Sources
For deeper technical detail on lighting specs and camera performance, Raytec’s white paper on lighting for network cameras and Raytec’s guidance on lighting for CCTV cameras both cover beam matching and commissioning in more depth. Always ask any installer or manufacturer for UL or ISO 9001 test documentation before buying fixtures for your own system.
- Lighting for Network Cameras – The Dark Art (Raytec white paper via OmegaCubed)
- How good is your light? Lighting for CCTV cameras (Raytec)
- How to light for CCTV and facial recognition (DW Windsor)
- Using security lighting in conjunction with surveillance cameras (Starbeam Lighting)
FAQ
What Is the Best Type of Lighting for Security Cameras?
White LED lighting matched to your camera’s lux rating works best for identification tasks like faces and license plates, while infrared suits detection-only zones where you don’t want a visible light. The right choice depends on whether you need to recognize detail or just confirm that something moved.
Can Your Neighbor Record You in Your Backyard?
Generally, a neighbor’s camera can lawfully capture footage that includes your backyard if the camera is aimed at their own property and simply picks up an adjacent view, but pointing a camera specifically to observe you in an area with a reasonable expectation of privacy raises legal concerns. Local nuisance and privacy laws vary, so check your municipality’s specific rules if this becomes a dispute.
What Is the Best Outdoor Security Light With a Camera?
The best setup usually separates the light source from the lens so you can angle each independently, since integrated floodlight cameras limit your ability to fix glare or field-of-view issues without moving both at once. For most driveways and entryways, a dedicated illuminator paired with a properly aimed camera, like the systems Central Jersey Security Cameras installs, outperforms an all-in-one unit for image quality.
What Kind of Lights Can Block Security Cameras?
Extremely bright lights aimed directly into a camera’s lens can cause glare, lens flare, or complete white-out, effectively blinding that portion of the frame. This is why installers keep light sources outside the camera’s field of view and avoid mounting fixtures that point back toward the lens itself.
How Much Light Do I Need for Facial Recognition on Camera?
Lighting designers recommend 20 to 30 lux measured vertically at face height, not just horizontal lux on the ground, since most residential fixtures throw light downward and miss the vertical plane where faces actually appear. A professional lux reading during installation confirms whether your entryway or driveway hits that target.