
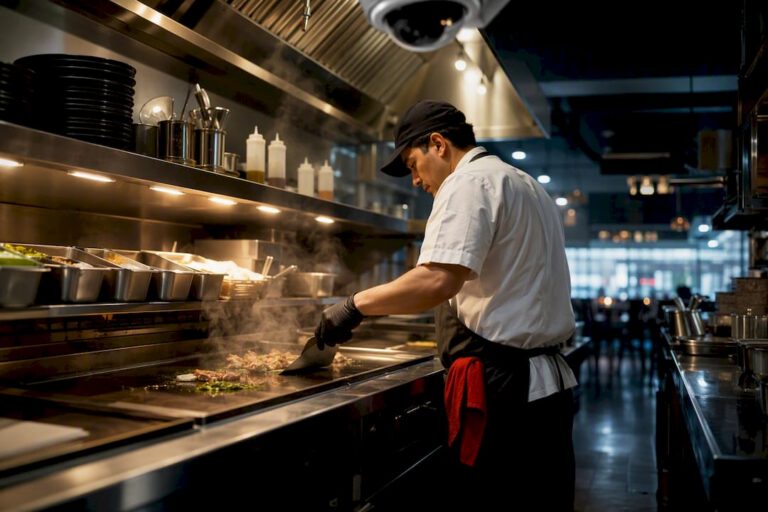
For most kitchens, the right answer is a mix of heat-rated turret and bullet cameras aimed at the line, the pass, and the walk-in, backed by a professional site survey before anyone drills a hole. If you only fix one thing this month, secure the cook line and the receiving door first. Everything else in this guide fills in the details around that call.
TL;DR:
- Installing heat-rated turret and bullet cameras aimed at key areas like the pass, cook line, and walk-in, backed by a site survey, maximizes reliability.
- Cameras rated IP66 or higher with impact resistance and proper temperature range are essential for surviving grease, steam, and heat exposure in kitchens.
- Mount cameras several feet up, angled downward, in zones with high traffic or risk, such as the dish pit, back door, and storage areas, with 4 to 12 units depending on kitchen size.
- Connecting cameras to a dedicated, well-ventilated network segment and using a reliable recording system (NVR or cloud) ensures footage integrity and easy access during investigations.
- Professional installation and ongoing maintenance, including firmware updates and camera health checks, significantly improve system longevity and functionality.
Table of Contents
- Which Restaurant Kitchen Cameras Actually Hold Up Back There?
- What Do Kitchen Cameras Actually Save You In Real Terms?
- Where Should Kitchen Security Cameras Actually Go?
- What Specs Actually Matter For A Kitchen Camera?
- How Do You Pick An Installer And What Happens During Setup?
- Why Professional Installation And Maintenance Change The Outcome
- What I’ve Learned Watching Kitchen Camera Installs Go Wrong
- Get A Site Survey For Your Restaurant Kitchen
- Sources
Which Restaurant Kitchen Cameras Actually Hold Up Back There?
Not every camera built for retail floors or office lobbies survives a busy line. Kitchens run hot, greasy, and steamy, and the wrong housing fogs, cracks, or just quits within a year. That reality should drive your camera choice more than price.
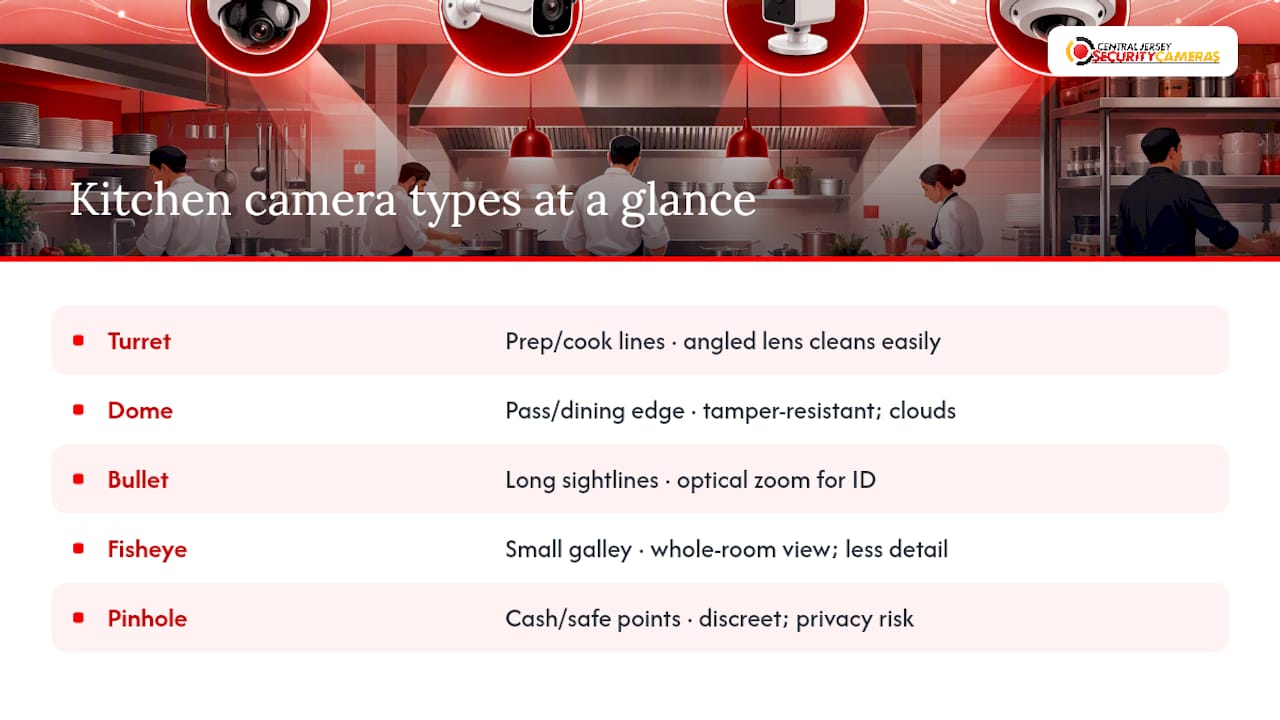
Turret cameras (sometimes called eyeball cameras) tend to be the best all-around pick for prep stations and cook lines. Their exposed lens sits at an angle, so grease film wipes off without the glare and reflection problems that plague dome housings, and the infrared array is easier to keep clean since nothing is trapped behind a curved cover.
Dome cameras still have a place, especially over the pass or dining-adjacent areas where a low-profile look matters. The tamper-resistant housing is a plus near high-traffic zones, but that same curved dome collects grease and steam residue, and once it clouds, image quality drops fast. Cleaning becomes a maintenance task nobody wants on their list.
Bullet cameras fit longer, straight sightlines: a full cook line, a loading dock, or the delivery and receiving door. Their long, narrow housing supports strong optical zoom, which helps identify what’s actually being carried in or out.
Fisheye cameras cover an entire kitchen in one wide shot, useful for a small galley kitchen where budget is tight. The trade-off is detail. You’ll see that someone dropped a pan, but not always which pan or which hand did it.
Pinhole cameras are the exception, not the rule. They’re built for discreet or covert placement, and using them on employees without clear notice can run into workplace privacy and civil liberties issues depending on your state. Reserve pinholes for very specific cash-handling or safe-access points, not general kitchen coverage.
Camera types like these each solve a different problem, which is exactly why kitchens that only buy one style end up with gaps.
What Do Kitchen Cameras Actually Save You In Real Terms?
Loss prevention is the obvious one. Tie your video feed to your point-of-sale system and you can match a suspicious void, a comp, or a drawer discrepancy to the exact moment it happened on camera, turning a hunch into a documented event.
Food-safety compliance is the underrated benefit. When a health inspector or a customer complaint raises a question about handling or storage, footage of your walk-in and prep stations gives you a timestamped record instead of a guess. That same footage protects you on the employee-safety side too: slip-and-fall claims in commercial kitchens are common enough that the National Insurance Crime Bureau has tracked a rise in these incidents nationally, and clear video of how and where someone fell is often the difference between a fair claim and a costly one.
On the operations side, cameras over the pass reveal exactly where tickets stall, and clipped footage of a well-run shift makes better training material than any written checklist.
Where Should Kitchen Security Cameras Actually Go?
Coverage should follow the flow of food and people through your building, not just wherever a wall outlet happens to be. Work zone by zone:
- The pass — a turret or small dome aimed down the pass line catches every plate that leaves the kitchen and every ticket that gets called.
- The cook line — one or two bullet or turret cameras per line segment, angled to avoid steam and hood vent obstruction.
- Prep stations — turret cameras mounted high enough to see hands and surfaces without catching overhead lighting glare.
- The walk-in and dry storage — a single wide-angle camera near the door covers inventory access and temperature-door discipline.
- The dish pit — often skipped, but a common site for injury claims and breakage disputes.
- The back door and receiving area — a bullet camera with good zoom for reading labels, invoices, and delivery timestamps.
Mount cameras several feet up, angled downward, and positioned clear of steam vents and hanging pot racks. A galley kitchen might need 4 to 6 cameras total; a full-service kitchen with a separate prep room and walk-in often runs 8 to 12. Larger commissary-style operations can push past 15 once you add receiving, dish pit, and multiple prep zones. Syncing camera timestamps with your POS turns any of these views into an investigation tool rather than just a recording.
What Specs Actually Matter For A Kitchen Camera?
Spec sheets throw a lot of numbers at you, and most don’t matter in a kitchen the way they matter in an office. Focus on the ones that predict whether the camera survives your environment.
- IP66 or higher for dust and moisture resistance, since steam and grease mist behave a lot like weather exposure indoors.
- IK08 or higher impact rating near dish pits and busy prep lines where equipment gets bumped.
- Operating temperature range that comfortably covers your hood-side heat, not just room temperature.
- 1080p minimum resolution, with 4K reserved for cameras covering the POS station or cash drawer where you need to read fine detail.
- Wide dynamic range (WDR) to handle the glare from stainless steel under bright kitchen lighting.
- Removable or serviceable housings so a fogged lens cover can be wiped or swapped without replacing the whole unit.
Kitchens genuinely stress hardware in ways a dining room never does, which is why a camera rated fine for the front of house can fail behind the line within months.
For recording, an on-site NVR still makes sense for single-location restaurants with reliable internet, while cloud-based video management systems have become the practical choice for multi-location operators who want centralized dashboards and built-in analytics without managing a server closet at every site. Retention windows of 30 to 90 days are the common vendor recommendation, with busier or higher-risk locations leaning toward the longer end.
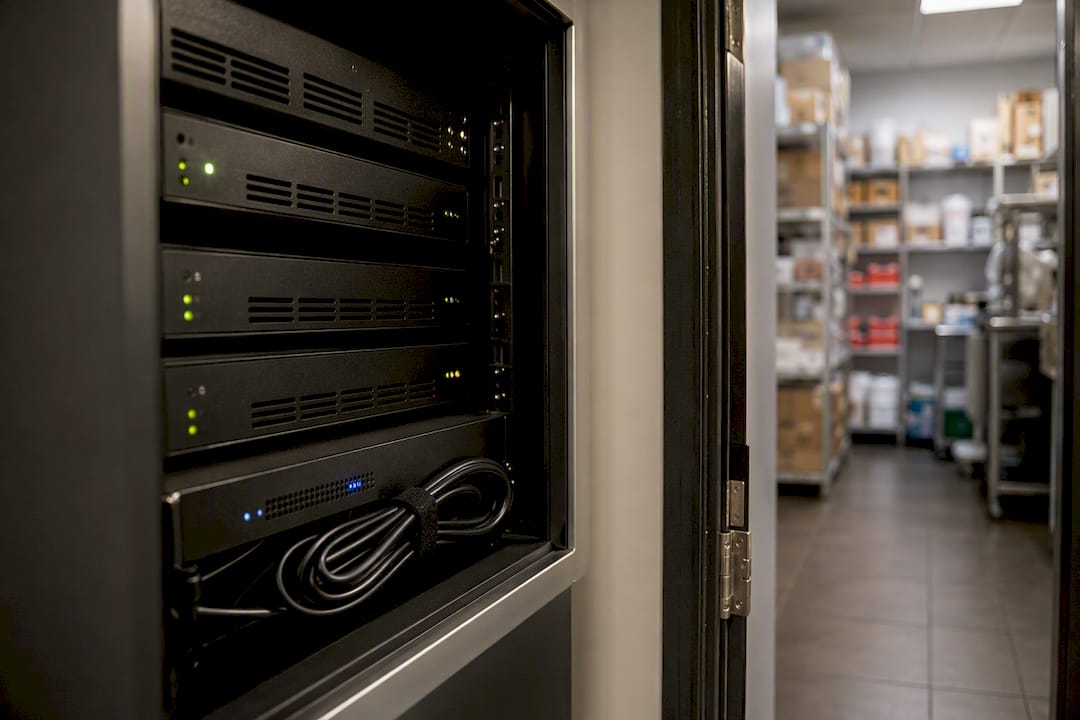
Pro Tip: Keep your NVR or network switch out of the kitchen entirely. Heat and grease shorten the life of recording hardware faster than almost anything else in the building, so a back office or dry storage closet is a far better home for it.
How Do You Pick An Installer And What Happens During Setup?
A real installation starts with a site survey, not a sales call. Someone should walk your kitchen, note lighting conditions, mounting points, existing cable runs, where your network switches sit, and whether your walk-in and cook line share a network segment with your office computers.
Before signing anything, ask a few direct questions:
- What warranty covers the cameras and the labor, separately?
- What’s the response time if a camera or recorder fails?
- How are firmware updates handled, and who’s responsible for applying them?
- What’s the exact retention policy, and who has access to footage and at what permission level?
Walk away from anyone who skips the site visit, gives a vague answer on retention, or can’t name the environmental rating of the cameras they’re proposing. Those are the three most common corners cut in a rushed install.
Cost typically breaks into hardware, cabling and network gear, labor, and any ongoing monitoring or maintenance fee. For a first system, a phased rollout, cook line and pass first, then walk-in and receiving, lets you test image quality and mounting positions before committing to a full build-out. If you’re also rethinking your network setup at the same time, it’s worth reviewing where network cabinets and switches should sit relative to heat sources, and applying basic network segmentation practices so your camera traffic doesn’t share a switch with point-of-sale systems.
Pro Tip: Ask for a floor plan mockup showing proposed camera angles before installation day. It’s the fastest way to catch a blind spot on paper instead of after the drywall is patched.
Why Professional Installation And Maintenance Change The Outcome
A documented site survey catches blind spots before they become gaps in an investigation, not after. It maps lighting changes across a shift, cable routing that avoids heat sources, and network segmentation that keeps camera traffic separate from your POS.
Ongoing maintenance matters just as much as the install. Firmware updates patch security vulnerabilities, and regular camera-health checks catch a fogged lens or failed IR array before it becomes a six-month blind spot nobody noticed. A system installed once and never checked again is a slow leak, not a safeguard.
What I’ve Learned Watching Kitchen Camera Installs Go Wrong
The most common mistake isn’t the camera choice. It’s mounting the camera where it looked convenient on install day, then finding out three weeks later that a hanging shelf or steam plume blocks half the frame. Walk the kitchen during a live shift before finalizing angles.
Use the footage to coach, not to punish, and staff will actually watch the clips you send them.
— Tom
Get A Site Survey For Your Restaurant Kitchen
Everything covered above, camera type, placement, specs, retention, comes together fastest with a proper site survey instead of guesswork. We design and install custom systems for restaurant kitchens, matching heat-rated turret and bullet cameras to the actual line layout instead of a one-size-fits-all package.
Our process covers the site survey, professional installation with proper cable runs and network segmentation, a choice between NVR or cloud recording depending on the number of locations, and ongoing maintenance to keep firmware and camera health up to date. If your kitchen has a blind spot you already know about, that’s the right place to start the conversation. Request a site survey and quote and we’ll walk your kitchen with you before recommending a single camera.
Sources
For deeper reading on camera types and kitchen-specific surveillance, see Envysion’s breakdown of dome, turret, and bullet trade-offs, Ifovea’s guide to cloud surveillance for restaurants, and the Small Business Administration’s emergency preparedness guidance.
- Ifovea — Cloud surveillance for restaurants
- NICB — Slip/fall incidents rise
- Reolink — Restaurant security cameras