
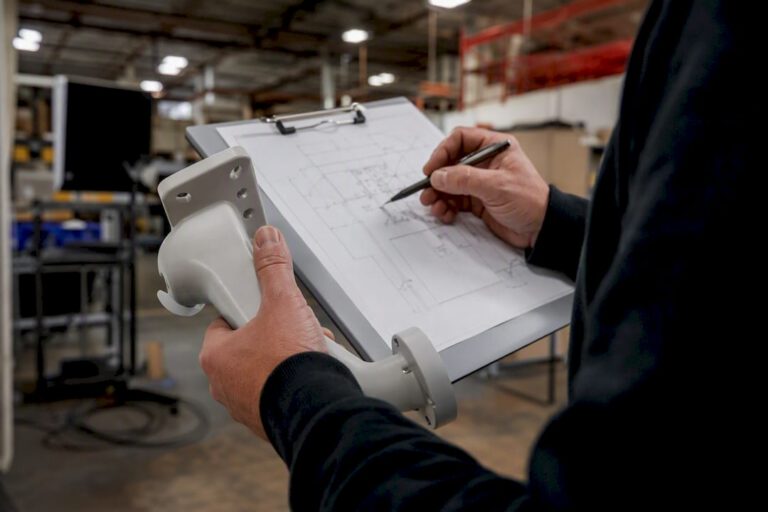
Run a threat-led site survey first, then commit to one architecture: distributed edge storage per building, tied together by a central video management system (VMS) over a PoE and fiber backbone. That combination scales the way a growing business actually grows, site by site, without forcing a rebuild every time you open a new location.
Before you call an installer, get four things straight:
- Complete a site survey that documents entry points, blind spots, and existing cabling.
- Write down specific security objectives, not just “better coverage.”
- Check your network’s health, including spare PoE capacity and switch headroom.
- Pick two or three pilot sites to test standards before a full rollout.
The recommended architecture matters because it isolates each building’s video traffic and storage locally, while giving you one login and one policy set across every location as you add sites.
Key Takeaways
A scalable camera system succeeds when edge storage per building, a central VMS, and standardized hardware let you add sites without redesigning your network.
| Point | Details |
|---|---|
| Start with a survey | Document entry points, sightlines, power, and cable pathways before buying any hardware. |
| Pilot before scaling | Test three sites, easy, hard, median, and roll out in waves of ten to fifteen locations. |
| Match cameras to zones | Use 4K for identification points and 1080p to 4MP for general detection areas. |
| Budget realistically | Expect roughly $750 to $1,200 installed per camera, plus network and licensing costs. |
| Get professional help | Central Jersey Security Cameras runs the survey, pilot, and rollout process for growing businesses in Central New Jersey. |
Table of Contents
- Define Security Objectives and Set Measurable Success Metrics
- Conduct a Site Survey Before You Commit to a Coverage Plan
- Choosing Camera Types and Core Hardware by Zone
- Design the Network, Power, and Storage to Handle Growth
- What Does a Scalable Camera System Cost to Install and Maintain?
- Building in Scalability So You’re Not Rebuilding Every Year
- Installation, Commissioning, and an Ongoing Maintenance Plan
- Choosing an Installer: Questions to Ask and Red Flags to Avoid
- Frequently Asked Questions
- Sources
Define Security Objectives and Set Measurable Success Metrics
“Better coverage” tells an installer nothing. A useful objective names what the camera needs to accomplish: deter loitering at a loading dock, detect motion in a stockroom, or identify a face clearly enough to support prosecution. Each of those maps to a different lens, resolution, and mounting height.
Set the numbers before you buy anything:
- Identification distance in feet for entrances and cash areas.
- Percentage of exterior entry points with overlapping coverage.
- Mean time to verify an alarm event (in minutes, not hours).
- Retention period in days, driven by your industry and insurance requirements.
Constraints shape the design just as much as goals do: available IT staff time, spare PoE budget, planned building additions, and any privacy or retention limits that apply to your state.
Pro Tip: Write each objective with a matching acceptance criterion, like “identify a license plate at 40 feet in low light,” so your installer has something concrete to demonstrate at commissioning instead of a vague sign-off.
Conduct a Site Survey Before You Commit to a Coverage Plan
A proper survey captures the building footprint, every entry and exit point, sightlines, existing lighting, available mounting points, power access, network handoff locations, and viable cable pathways. Skipping any of these usually shows up later as a blind spot nobody caught until after an incident.
Once you have that data, threat-led coverage mapping lets you sort zones by priority:
- Identification zones (entrances, registers) get higher resolution and tighter fields of view.
- Detection zones (hallways, parking lots) can run lower resolution since you only need motion and rough activity.
- Situational-awareness zones (open yards, loading areas) call for wide coverage over pixel density.
If you operate more than one location, pick three pilot sites: one easy, one hard, one right in the middle. That spread exposes problems a single “typical” site would hide. Budget two to four weeks per site for survey and permitting on a straightforward commercial building, longer if the property needs structural work for conduit runs.
Choosing Camera Types and Core Hardware by Zone
Match hardware to the zones you already mapped instead of buying the same camera for every location. Identification zones need 4K resolution and a fixed telephoto lens. Detection zones do fine on 4MP down to 1080p. Perimeter and parking-lot coverage often benefits from a pan-tilt-zoom (PTZ) camera an operator can steer, and gate or lot entrances with heavy vehicle traffic may justify a dedicated license plate recognition (LPR) camera.
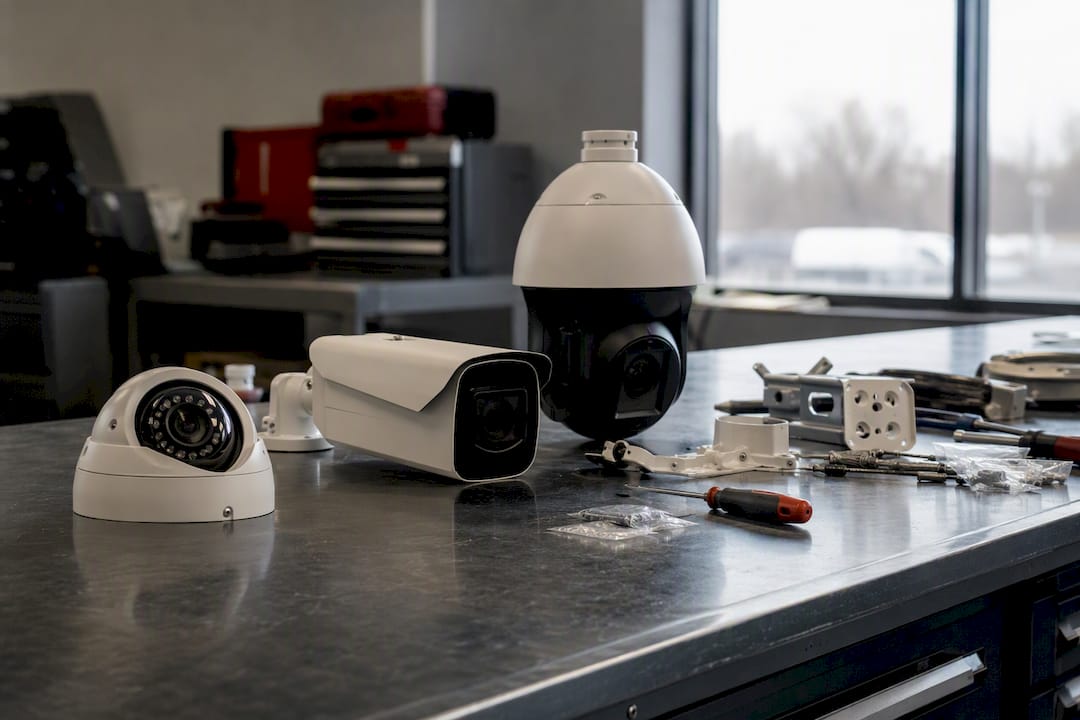
Form factor matters for durability as much as image quality. Look for an IP66 or IP67 rating for outdoor exposure and IK10 vandal resistance for anything mounted within reach at ground level.
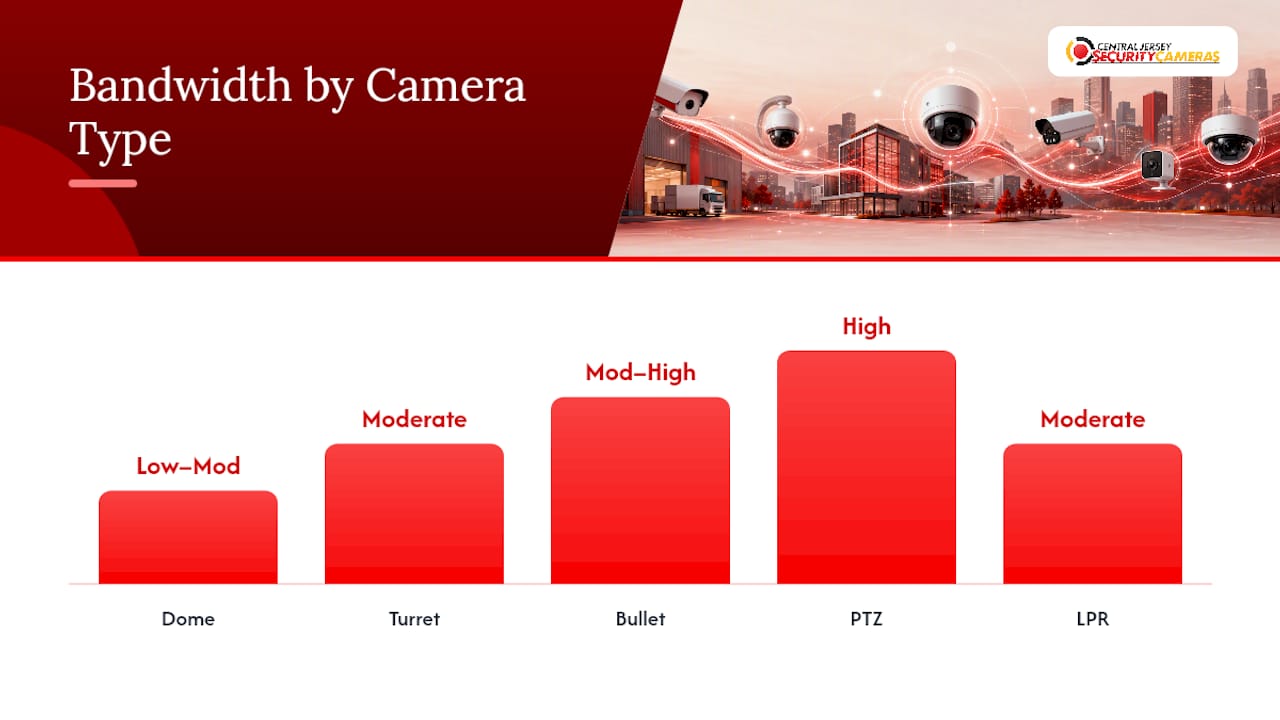
| Camera type | Best-for zone | Bandwidth footprint | Notes |
|---|---|---|---|
| Dome | Indoor retail, offices | Low to moderate | Discreet, harder to see viewing angle |
| Turret | Loading docks, hallways | Moderate | Easier to aim than a dome, good IR performance |
| Bullet | Perimeter, parking lots | Moderate to high | Visible deterrent, long-range lens options |
| PTZ | Large lots, wide perimeters | High | One camera covers what would take three fixed units |
| LPR | Gates, parking entrances | Moderate | Specialized optics tuned for plate capture |
Standardize on PoE or PoE+ power, confirm ONVIF and RTSP compatibility so you are not locked into one vendor’s software, and choose models with SD card slots for edge buffering during network outages.
Pro Tip: Standardize on one or two camera families with documented variants. It keeps spare parts interchangeable and cuts technician training time as you add sites.
Design the Network, Power, and Storage to Handle Growth
The network is where most expansion plans quietly fail. A distributed edge plus centralized VMS model keeps each building’s camera traffic local while giving you one dashboard across every site, tied together with a fiber backbone and its own CCTV VLAN with QoS rules so video never competes with office traffic.
On the power side, budget spare PoE ports for future cameras, move to PoE++ if you plan to add AI-capable units, and use fiber or PoE extenders once cable runs push past standard copper distance limits.
Storage math is simple in outline, harder in practice: multiply bandwidth per camera by camera count by retention days, then subtract what H.265 compression and motion-based recording save you. Adaptive bitrate settings alone can cut storage needs by a meaningful margin on cameras watching mostly-empty hallways.
The scale of the problem is bigger than most facilities managers assume. The average commercial site runs 84 cameras recording around the clock, and fewer than 3% of feeds have a human actually watching at any given moment. This is the real argument for edge analytics rather than more monitor screens.
What Does a Scalable Camera System Cost to Install and Maintain?
Costs break down into predictable buckets: camera hardware, cabling and labor, switches and patch panels, storage (whether an on-site NVR or cloud fees), VMS licensing, analytics add-ons, and an ongoing service contract.
For budgeting purposes, installed business camera systems typically run $750 to $1,200 per camera including the camera itself, labor, and cabling, while proprietary hardware platforms can climb to $1,000 to $4,000 per camera. Hidden costs usually come from network upgrades, added power circuits, or permitting delays, not the cameras themselves.
For an RFP estimate, list out:
- Per-camera hardware and installation cost.
- Network upgrades (switches, cabling, fiber runs).
- Storage and VMS licensing, annual or one-time.
- Ongoing maintenance and service contract fees.
A single-site install typically runs two to six weeks start to finish. Multi-site rollouts stretch to several months, paced by wave size rather than total camera count.
Building in Scalability So You’re Not Rebuilding Every Year
The whole point of the edge-plus-VMS approach is that adding a camera, a building, or a new analytics feature never means tearing out what you already have. That happens through a few concrete design choices, not luck.
- Aggregate video at the edge per building, then feed everything into one central VMS.
- Keep analytics loosely coupled, ideally containerized or cloud-ready, so you can add license plate recognition or people-counting later without swapping cameras.
- When you add cameras, confirm spare PoE and storage headroom first, add the units, then extend retention policy afterward, in that order.
- Insist on open standards, ONVIF for camera compatibility, 802.1X for port security, and DSCP markings for video traffic priority, so you are never stuck with one manufacturer’s ecosystem.
Pro Tip: Favor camera-agnostic analytics software over anything baked into one brand’s hardware. It lets you add capability over time instead of replacing equipment every time you want a new feature.
Installation, Commissioning, and an Ongoing Maintenance Plan
A rollout that scales follows the same sequence every time: survey, pilot, standardize, wave rollout, then formal cutover and site acceptance. Skipping straight to full deployment is how small mistakes get repeated across dozens of buildings.
At commissioning, check focus and wide dynamic range (WDR) tuning per camera, confirm motion zones are set correctly, verify alarm routing actually reaches the right person, and sync every device to NTP or PTP time so footage from different cameras lines up.
| Phase | Typical duration | Focus |
|---|---|---|
| Pilot (3 sites) | 2 to 4 weeks | Validate standards, surface hidden issues |
| Wave rollout | 4 weeks per site | Deploy waves of ten to fifteen sites |
| Cutover/acceptance | 1 to 2 weeks per site | Sign-off against acceptance criteria |
Ongoing maintenance needs a firmware update policy, quarterly health checks, a spare parts inventory, and two KPIs worth tracking monthly: uptime and false-alert rate. Rolling out in waves of ten to fifteen sites rather than all at once is what keeps a standardization failure from compounding across fifty locations before anyone notices.
Choosing an Installer: Questions to Ask and Red Flags to Avoid
Ask any prospective installer about multi-site experience specifically, not just total years in business. Request a reference to a pilot site they completed, ask what their warranty and service level agreement (SLA) actually cover, and get clarity on spare-parts policy and how often they check in after install.
Red flags show up early if you know what to look for:
- No formal site survey offered before a quote.
- Resistance to standardizing camera models across your sites.
- Licensing fees that aren’t itemized in writing.
- No defined commissioning tests or acceptance criteria.
Before signing anything, request the actual documentation: a written site survey report, a cable pathway plan, the PoE power budget, and a VMS license matrix showing what’s included versus what costs extra per site. If an installer can’t produce these, reviewing coverage and blind-spot analysis practices from a properly run survey shows what that documentation should look like.
What Installers Always Check Before They Call a Job Done
Beyond the sales pitch, the actual field checklist matters more. Techs worth hiring verify mounting torque, label every cable at both ends, load-test PoE circuits, check for infrared bleed on night footage, confirm NTP or PTP sync, and pull a test clip for each alert type before leaving.
Ask for spares on hand, a documented firmware update schedule, and a final as-built configuration record. That last document alone saves hours on your next expansion wave.
Pro Tip: If an installer can’t produce an as-built document after the last job, assume your next expansion wave starts from zero instead of from where you left off.
When to Handle Installation In-House Versus Hiring a Professional
A single small site with existing IT support and a handful of cameras is a reasonable do-it-yourself project. Multiple sites, regulated industries, or any need for LPR or AI analytics call for a professional integrator who can run the pilot-and-wave approach correctly the first time.
Central Jersey Security Cameras Can Design and Install Your Expansion Plan
If running your own pilot program and wave rollout sounds like more coordination than your team has time for, that’s exactly the gap a dedicated integrator fills. Central Jersey Security Cameras designs, installs, and maintains custom surveillance systems for growing businesses across Central New Jersey, including Ocean, Monmouth, Middlesex, Mercer, and Burlington counties, built around the same distributed edge plus central VMS model this article covers.
That means one company handling the site survey, standardizing on documented camera families across your locations, and running maintenance contracts so uptime and alert accuracy stay steady as you add buildings. Services cover IP camera systems, 4K and license plate recognition cameras, PTZ units, active deterrence cameras, NVRs, and remote monitoring, all scoped to your actual pilot sites rather than a generic package.
Ready to see how this applies to your buildings? Request a site survey for commercial security cameras and get a written coverage plan before you commit to hardware.
Frequently Asked Questions
How do I plan a camera system for business expansion without overspending upfront?
Start with a site survey and objectives, then build only the pilot sites first. Standardizing on one camera family and a fiber-plus-PoE backbone lets you add sites later at $750 to $1,200 per camera installed instead of redesigning the network each time.
What’s the difference between edge storage and centralized VMS?
Edge storage keeps footage on-site per building, usually on an NVR or SD card, while a centralized VMS gives you one login to manage and view every location. Most growing businesses use both together.
How many cameras does a typical commercial site need?
It depends entirely on the building, but reporting on commercial deployments puts the average around 84 cameras per facility, which is part of why analytics matter more than adding monitor screens.
Should I use cloud storage or on-site NVRs for a multi-site rollout?
Cloud platforms simplify centralized management across locations, while on-site NVRs give you full control over footage without ongoing subscription fees. Many growing businesses use edge NVRs at each site with cloud-based remote access layered on top.
What questions should I ask before hiring a camera installer?
Ask about multi-site experience, request a reference pilot site, and get their warranty, SLA terms, and spare-parts policy in writing. If they can’t produce a formal site survey report or a PoE budget, keep looking.
Sources
- How to Design a Scalable Security Camera System for Growing Businesses
- Multi-site security rollout playbook for 50+ locations | Tec-Tel
- Commercial AI Surveillance
- Security Cameras for Business: Commercial Camera Software