
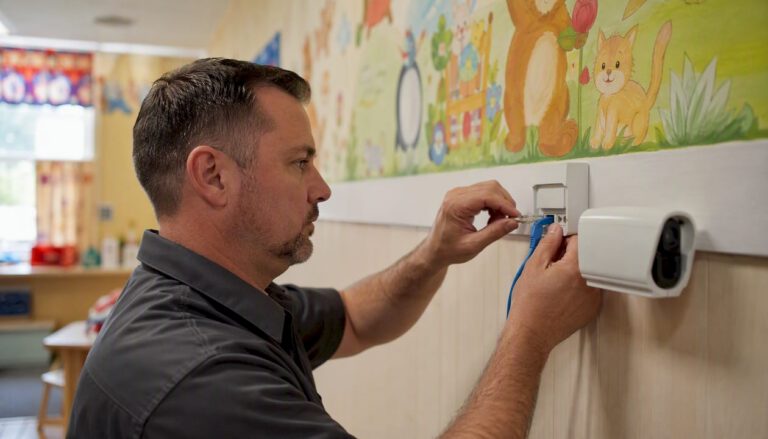
A professionally installed, access-controlled camera system can meaningfully increase safety and transparency in a daycare — but only when it comes with clear placement rules, a written privacy policy, and controlled access to footage. Without those three conditions, cameras create liability instead of reducing it.
For operators, right now:
- Pause before purchasing any hardware. Check your state’s child-care licensing authority for camera-specific rules, because requirements vary significantly by state.
- Draft a camera policy before installation begins. It should cover which rooms are monitored, who can access footage, how long recordings are kept, and how staff are notified.
- Consult a certified local installer, such as Central Jersey Security Cameras, for a site audit before committing to a system design.
For parents, right now:
- Ask the center for its written camera policy. If one does not exist, that is a red flag.
- Find out who can view live feeds and recorded footage, and whether access is logged.
- Ask how long recordings are retained and whether parents can request footage in writing.
Pro Tip: Before your first vendor call, write down the rooms you want covered and the rooms that must never be covered. That single document will save hours of back-and-forth and prevent costly placement mistakes.
Key Takeaways
A secure daycare camera system requires policy before hardware, professional installation, and controlled access to footage at every stage.
| Point | Details |
|---|---|
| Policy before hardware | Draft your camera policy, including access rules and retention period, before purchasing any equipment. |
| Prohibited placement zones | Never place cameras in bathrooms, diapering areas, or nap rooms where privacy is reasonably expected. |
| Cybersecurity controls | Use network segmentation, encrypted feeds, strong credentials, MFA, and quarterly firmware updates. |
| Legal and licensing check | Verify your state’s child-care licensing rules and consult an attorney before enabling parent live-view or audio recording. |
| Central Jersey Security Cameras | Provides professional design, installation, and maintenance for daycare camera systems throughout Central New Jersey. |
Table of Contents
- Why do daycares install cameras, and what are the tradeoffs?
- Where can cameras go in a secure daycare facility with cameras?
- Which camera types work best in a daycare setting?
- How do you keep camera feeds and recordings secure?
- How should you handle recorded footage responsibly?
- What are the U.S. legal basics for daycare camera systems?
- How do you implement a daycare camera system step by step?
- What red flags should parents and operators watch for?
- What cameras in daycares actually teach us about trust
- Central Jersey Security Cameras designs secure systems for child care operators
- Sources
Why do daycares install cameras, and what are the tradeoffs?
Cameras in a child care setting serve four distinct purposes: real-time safety monitoring, incident documentation, staff accountability, and parent reassurance. Each one is legitimate. None of them eliminates the tradeoffs.
Core benefits in a daycare context:
- Drop-off reassurance. Parents who can verify their child arrived safely and is engaged in a supervised activity are measurably less anxious. Live-only viewing, where parents see a real-time feed but cannot download or store footage, is a common design that delivers this benefit without creating a data-retention burden.
- Incident documentation. When a child is injured, a dispute arises between families, or a staff member’s conduct is questioned, recorded footage is often the only objective record. Without it, investigations rely entirely on witness accounts.
- Staff training. Reviewing footage of classroom transitions, nap routines, and outdoor supervision helps directors identify gaps in coverage and coach staff constructively, without the pressure of a live observation.
- Deterrence. Visible cameras reduce the likelihood of misconduct by staff or unauthorized visitors, particularly at entry points.
Common tradeoffs operators underestimate:
- Staff morale and trust. Cameras can feel like surveillance of employees rather than protection of children. Centers that introduce cameras without staff buy-in often see increased turnover and resentment.
- Cybersecurity exposure. An IP camera on an unsecured network is an open door. Poorly configured systems have been exploited to access live feeds remotely, which is a serious risk in a setting with children.
- Cost and maintenance. Hardware, installation, storage, and ongoing maintenance add up. A system that is not maintained becomes unreliable precisely when it matters most.
- Privacy complexity. Even in common areas, cameras capture children who are not your child, staff who did not consent to continuous recording, and sometimes sensitive interactions.
| Benefit | Tradeoff |
|---|---|
| Real-time safety monitoring | Cybersecurity risk if feeds are unsecured |
| Incident documentation | Staff morale and trust concerns |
| Parent transparency and reassurance | Privacy exposure for non-enrolled children |
| Staff training and accountability | Ongoing cost: hardware, storage, maintenance |
| Deterrence at entry points | Legal complexity: audio, consent, licensing rules |
Where can cameras go in a secure daycare facility with cameras?
The short answer: cameras belong in shared, supervised spaces and nowhere near areas where children or adults have a reasonable expectation of privacy.
Areas where cameras must never be placed:
- Bathrooms and toilet areas
- Diapering and changing stations
- Nap rooms or sleeping areas where children are undressed or in a state of undress
- Staff break rooms or locker areas
- Any space where a reasonable person would expect privacy
These restrictions are not just ethical guidelines. Many states treat unauthorized recording in private spaces as a criminal offense, and licensing authorities can revoke a center’s operating license for violations.
Acceptable placement areas and practical examples:
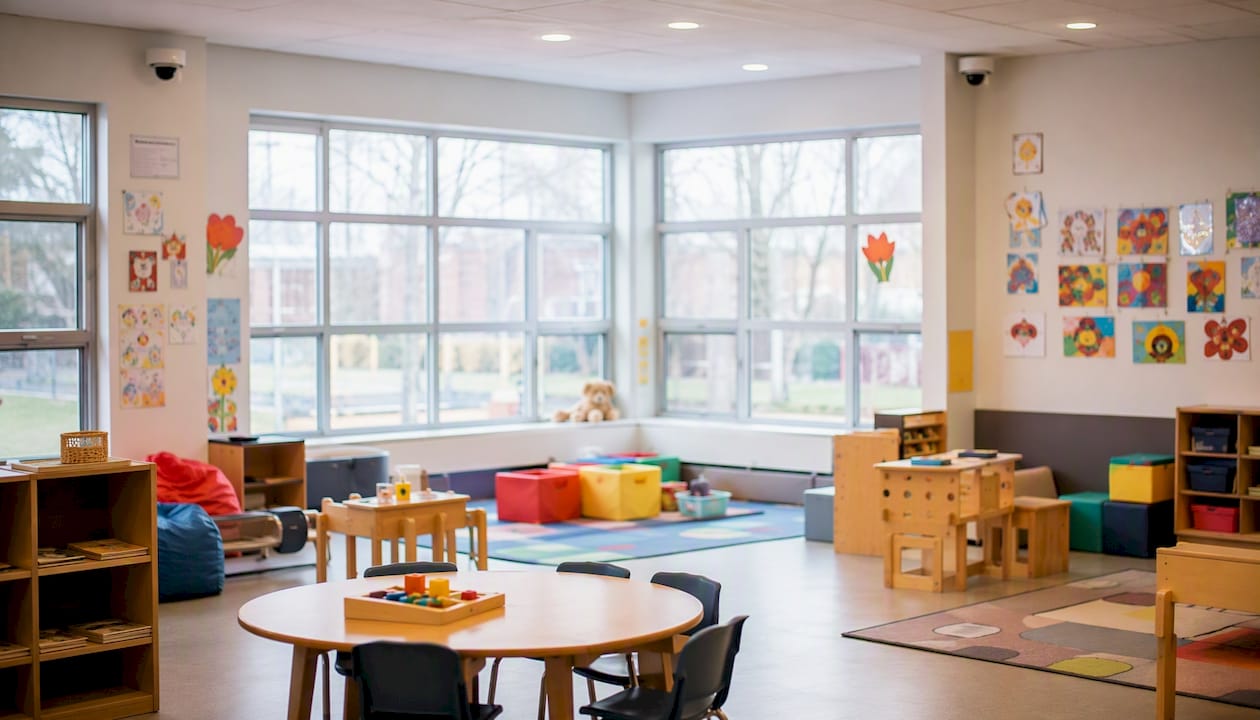
- Main classrooms and learning areas (camera positioned to cover the room, not a single child’s face)
- Entry and exit points, including the front door, lobby, and sign-in area
- Outdoor play areas and playgrounds
- Hallways and common corridors
- Kitchen and food-preparation areas (for food safety monitoring, not child surveillance)
Placement checklist for operators:
- Map every room and mark it as “camera-permitted,” “camera-prohibited,” or “camera-conditional” (requires policy review).
- For each permitted room, define the camera angle so it covers the supervision zone without capturing prohibited adjacent areas.
- Confirm that no camera’s field of view overlaps with a bathroom doorway, changing table, or sleeping area, even incidentally.
- Post visible signage at every entrance and in every monitored room stating that video surveillance is in use.
- Have a licensed installer review the placement plan before mounting any hardware.
Pro Tip: Most modern IP cameras support privacy masking, a software feature that blacks out a defined zone within the frame. Use it to block bathroom doorways or changing-area sight lines that fall at the edge of an otherwise acceptable camera angle. This is far more reliable than repositioning a camera after the fact.
Which camera types work best in a daycare setting?
The two fundamental choices are IP (network) cameras versus analog cameras, and within IP systems, whether to use Power over Ethernet (PoE) or wireless. For a daycare, IP cameras on a PoE network are almost always the right call.
Why IP over analog: IP cameras deliver higher resolution, support remote viewing with proper authentication, and integrate with modern Network Video Recorders (NVRs) that log access and support encrypted storage. Analog systems are cheaper upfront but lack the access controls and audit capabilities that a compliant daycare system needs.
Why PoE over wireless: PoE cameras draw power and transmit data over a single Ethernet cable, which eliminates battery management, reduces interference, and makes the network topology easier to segment and secure. Wireless cameras are convenient for retrofits but introduce Wi-Fi vulnerabilities that are difficult to manage in a shared-use building.
Dome vs. bullet cameras in child care spaces:
Dome cameras are the standard choice for indoor daycare rooms. Their low-profile housing is tamper-resistant, the lens direction is less obvious (which reduces the “watched” feeling for staff), and they handle wide-angle coverage well. Bullet cameras are better suited to entry points and outdoor areas where a longer focal length and weather resistance matter more than discretion.
Recommended specs for daycare deployments:
- Resolution: 4MP minimum for indoor rooms; 4K for entry points where you need to read faces or license plates clearly.
- IR/night performance: Look for cameras with true IR or low-light color sensors for nap-time monitoring and after-hours security.
- Field of view: Around 90 degrees for classroom coverage; wider lenses can introduce distortion that makes footage harder to use as documentation.
- Tamper-resistant housings: Required for any camera within reach of children or accessible hallways.
- Audio: Avoid enabling audio recording unless your legal counsel has reviewed state wiretapping laws for your specific jurisdiction. Many states require two-party consent for audio recording, and daycare licensing rules may add further restrictions.
Installer checklist notes:
- Mount indoor cameras at a height sufficient to capture faces without distortion and to keep them out of children’s reach.
- Avoid mounting directly above doorways, where the angle captures only the top of heads.
- Identify blind spots during the site survey and add cameras or adjust angles before cabling is run.
- Document the final camera map with mounting heights, angles, and cable routes for future maintenance reference.
Pro Tip: Ask your installer for a coverage diagram showing each camera’s field of view overlaid on your floor plan. This document is useful for your camera policy, for parent disclosures, and for any licensing inspection.
How do you keep camera feeds and recordings secure?
Encrypt feeds in transit and at rest, use strong unique credentials with multi-factor authentication, and keep cameras off your main operational network. Those three controls eliminate the majority of common attack vectors.
Security implementation checklist:
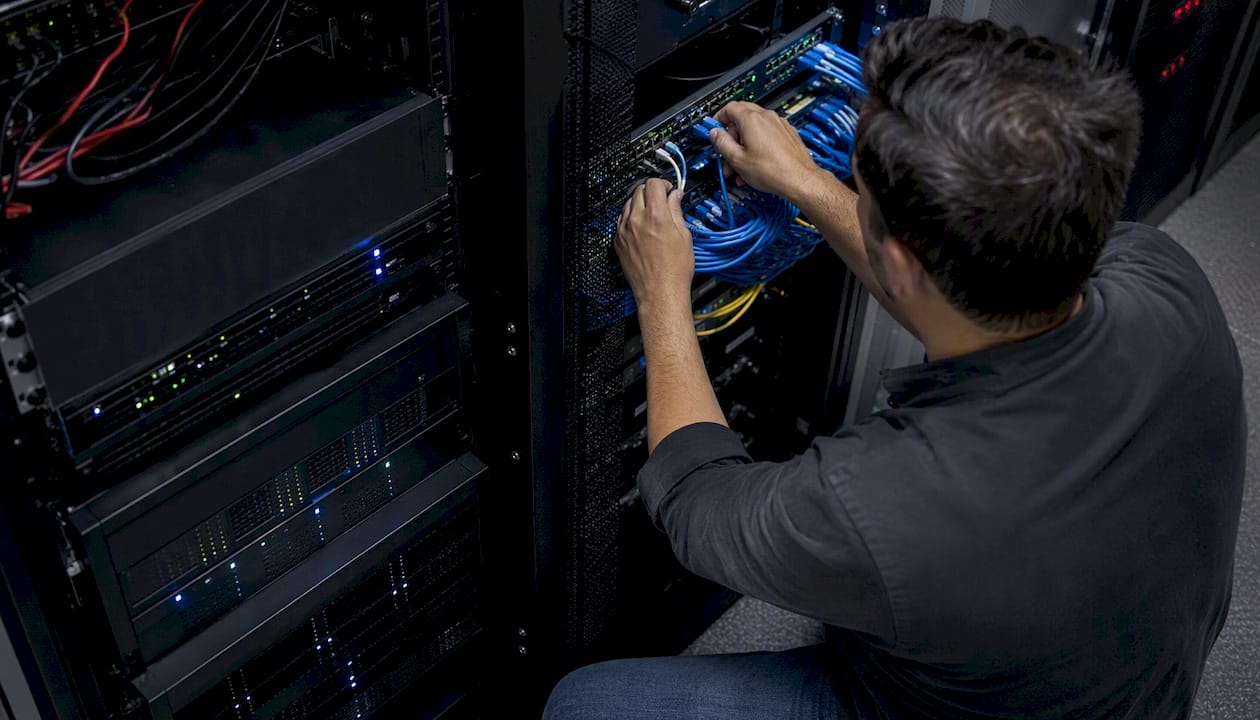
- Network segmentation. Place all cameras on a dedicated VLAN, separate from the center’s administrative network and any guest Wi-Fi. This limits the blast radius if a camera is compromised.
- Encrypted transmission. Confirm that your NVR and any cloud relay use TLS encryption for all data in transit. Ask vendors for documentation, not just marketing claims.
- Strong, unique credentials. Change all default usernames and passwords immediately after installation. Use a password manager to generate and store credentials. Never reuse passwords across devices.
- Multi-factor authentication (MFA). Enable MFA on any admin portal, cloud dashboard, or remote-access interface.
- Firmware patching. Assign a staff member to check for and apply firmware updates quarterly. Unpatched cameras are one of the most common entry points for unauthorized access.
- Admin role separation. Create separate accounts for system administrators, directors who need footage access, and any third-party vendor with maintenance access. Log every login.
- Vendor access policy. Require any third-party vendor or cloud provider to sign a data-handling agreement before granting access. Define what they can access, for how long, and under what conditions.
- Audit logs. Configure your NVR or cloud platform to log every access event: who viewed footage, when, and for how long. Review logs monthly.
Industry best practices for secure installs consistently identify network segmentation and documented maintenance schedules as the two controls most often missing from institutional camera deployments.
Pro Tip: Schedule a credential rotation every 90 days and put it on the center’s calendar as a recurring maintenance task. Pair it with a firmware check. Both tasks take under 30 minutes and prevent the most common causes of unauthorized access.
Closed-loop vs. cloud relay: Some centers use a fully closed-loop system where footage never leaves the local NVR. Others use a cloud relay for remote parent viewing. Closed-loop systems have a smaller attack surface; cloud systems offer more flexibility but require vetting the vendor’s encryption and data-retention practices carefully. Professional installers can design secure network architectures for either model.
How should you handle recorded footage responsibly?
Footage is evidence. Treat it that way from day one, not only when an incident occurs.
Retention decision framework:
- Check your state’s child-care licensing rules first. Some states specify minimum or maximum retention periods for surveillance footage in licensed facilities.
- In the absence of state rules, a 30-day rolling retention period is a common baseline for general operations. Extend to 90 days for footage flagged as potentially relevant to an open incident.
- Factor in storage costs. High-resolution footage from multiple cameras accumulates quickly. Size your NVR or cloud storage plan to match your retention target before going live.
- Document your retention policy in writing and review it annually.
Preserving footage integrity for incidents:
- When an incident is reported, immediately flag the relevant footage and prevent it from being overwritten by the rolling retention cycle.
- Export the footage with a cryptographic hash (a checksum that proves the file has not been altered). Most commercial NVR systems support this natively.
- Limit the number of copies. Each copy is a potential leak. Document who received a copy, when, and why.
- Maintain a written chain-of-custody log: who accessed the footage, what action they took, and the date and time of each action.
Practical handling rules:
- Only the center director and designated administrators may access recorded footage under normal circumstances.
- Parent requests for footage should be handled in writing, reviewed by legal counsel before release, and logged.
- Law enforcement requests require a subpoena or court order in most cases. Consult your attorney before releasing footage to any government agency without one.
- Staff may not access footage of their own incidents without director oversight.
Pro Tip: Create a one-page “footage request form” that any parent or staff member must complete in writing. The form creates a paper trail, slows down impulsive requests, and gives your attorney something concrete to review before you release anything.
What are the U.S. legal basics for daycare camera systems?
Cameras are legal in most U.S. jurisdictions when used in common areas with proper notice, but the details vary enough by state that “legal in general” is not a safe operating assumption.
Compliance checklist for operators:
- Licensing authority notice. Contact your state’s child-care licensing office before installing cameras. Some states require prior approval or notification; others have specific rules about camera placement, parent access, and audio recording.
- Staff notice. Most states require employers to notify employees of workplace surveillance. In some states, written consent is required. Consult an employment attorney for your state’s specific standard.
- Parent notification. Include camera use in your enrollment contract and parent handbook. Describe which areas are monitored, who can access footage, and how long recordings are kept.
- Signage. Post visible signs at every entrance and in every monitored room. This is both a legal requirement in many states and a practical deterrent.
- Audio recording. Many states require all-party consent for audio recording. Disable audio on all cameras unless your legal counsel has confirmed compliance with your state’s wiretapping statute.
- Live parent viewing. If you offer parents live access to feeds, consult counsel before launch. Live viewing raises additional questions about data security, third-party access, and whether the platform you use complies with COPPA and state privacy laws.
Pro Tip: Many state licensing agencies publish camera-specific guidance documents. Search your state’s Department of Health or Department of Children and Families website for “child care surveillance” or “child care camera policy” before your first vendor meeting.
How do you implement a daycare camera system step by step?
Follow a five-stage process: plan, policy, procure, install, then test and train. Skipping stages, especially policy before procurement, is the most common and most expensive mistake operators make.
Step-by-step implementation:
- Stakeholder buy-in. Meet with staff and send a parent communication before any hardware is purchased. Explain the purpose, the placement rules, and the access controls. Resistance discovered after installation is far harder to manage.
- Draft your camera policy. At minimum, include: which rooms are monitored, who may access footage, retention period, disciplinary use rules (can footage be used in staff reviews?), parent request procedures, and breach notification steps.
- Site audit. Hire a licensed installer for a pre-installation site survey. The survey should produce a camera placement map, a cable routing plan, a power assessment, and a network segmentation recommendation. Professional site audits reduce deployment errors and long-term maintenance costs.
- Procurement. Select hardware based on the site audit recommendations. Get at least two comparable quotes using a consistent scope: camera count, resolution, NVR capacity, installation labor, and first-year maintenance.
- Installation. Use a licensed, insured installer with verifiable references and a written labor warranty. Confirm they will provide a final camera map, cable documentation, and a system walkthrough before signing off.
- Test and train. Before go-live, verify every camera angle against your placement policy, confirm encryption is active, test remote access with MFA, and train all staff on the policy and on what to do if they notice a camera malfunction.
- Ongoing maintenance. Schedule quarterly firmware checks, annual system reviews, and credential rotations. Document every service visit.
Vendor verification checklist:
- Licensed and insured in New Jersey (or your state)
- Provides written labor warranty
- Can supply verifiable references from comparable institutional installs
- Will sign a data-handling agreement covering their access to your system
- Offers a documented maintenance plan, not just a verbal promise
Sample implementation timeline:
Sample cost categories to budget:
- Camera hardware (per unit, varies by resolution and housing type)
- NVR or cloud storage subscription
- Installation labor (typically quoted per camera or per day)
- Network equipment (PoE switch, cabling, conduit)
- Annual maintenance contract
- Legal review of camera policy
What red flags should parents and operators watch for?
Red flags that signal a poorly managed system:
- No written camera policy exists or the center refuses to share it.
- Feeds are accessible via a public URL with no authentication.
- Cameras are present in bathrooms, changing areas, or nap rooms.
- The vendor cannot explain how footage is encrypted or who has admin access.
- The vendor refuses to sign a data-handling or data-protection addendum.
- Signage is absent in monitored areas.
- No access log exists for footage review.
- The system has not been updated or audited since installation.
Questions parents should ask a center:
- Who can view live feeds, and is access logged?
- Is audio recorded? If so, what is the legal basis?
- Can I request footage in writing if my child is involved in an incident?
- How long is footage retained, and where is it stored?
- Has the system been audited for cybersecurity vulnerabilities?
Questions operators should ask a vendor:
- How is footage encrypted in transit and at rest? What standard or protocol?
- Who holds admin credentials, and how is access revoked when staff leave?
- What is your firmware patching policy and timeline?
- What does your labor warranty cover, and for how long?
- What is your breach notification procedure, and what is the timeline for notifying us?
- Will you sign our data-handling agreement?
What cameras in daycares actually teach us about trust
Most operators who call about a daycare camera system are thinking about the hardware first. That is almost always the wrong starting point. The camera is the last decision, not the first.
What I have seen repeatedly in institutional installs is that the centers with the fewest problems after go-live are the ones that spent the most time on policy before they spent a dollar on equipment. They knew exactly who could see what, under what conditions, and what happened if something went wrong. The hardware almost didn’t matter, because the governance around it was solid.
The centers that struggled were the ones that bought cameras because a parent demanded it, or because a competitor had them, and then tried to write the policy afterward. That sequence creates legal exposure, staff resentment, and systems that nobody trusts, including the parents the cameras were supposed to reassure.
There is also a subtler point worth making: cameras do not replace supervision. A center that uses cameras as a substitute for adequate staffing ratios is creating a false sense of security. Footage of an incident is not the same as preventing one. The best camera systems I have seen are designed to support attentive staff, not replace them.
Central Jersey Security Cameras approaches every institutional install with a policy-first conversation. The site audit comes second. The hardware comes third.
Central Jersey Security Cameras designs secure systems for child care operators
Daycare operators in Central New Jersey have a local option that most national camera vendors cannot match: a licensed installer who knows the building codes, understands the institutional requirements, and will be on site when something needs adjusting.
Central Jersey Security Cameras designs, installs, and maintains custom camera systems for schools, commercial facilities, and child care centers throughout Ocean County, Monmouth County, Middlesex County, Mercer County, Burlington County, and surrounding areas. Every engagement starts with a site audit, includes a written system design, and ends with a documented camera map and staff walkthrough. The team handles network segmentation, NVR configuration, access control setup, and ongoing maintenance, so operators are not left managing a complex system without support.
If you are ready to move from policy to hardware, request a site audit or quote from Central Jersey Security Cameras. A licensed technician will assess your facility, identify coverage gaps, and deliver a system design that meets your licensing, privacy, and security requirements.
Sources
The sources below were used in preparing this guide and are worth bookmarking for your own planning process. When state-specific legal questions arise, your state’s licensing office and a licensed attorney are the authoritative resources, not general guides.
- 10 Security Industry Best Practices for 2026
This article is general information, not a substitute for advice from a qualified lawyer. Consult a qualified legal professional about your own circumstances before acting on anything here.