
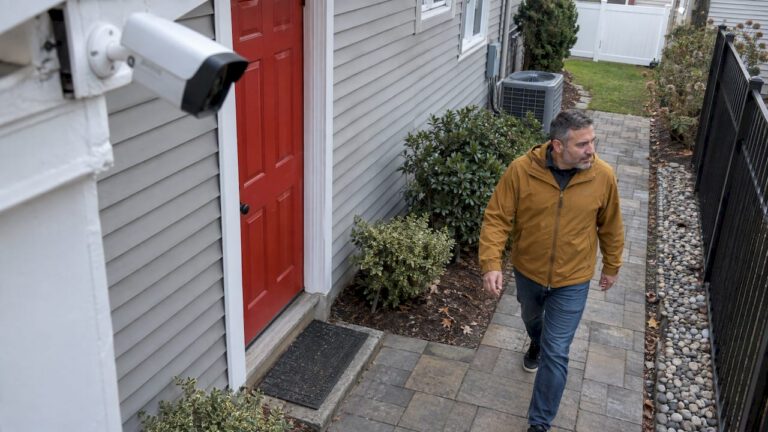
Most false camera alerts come from three things: detection settings left on factory defaults, a camera aimed at something that moves all day, and a mounting position or light source that confuses the sensor. Fix those in that order, test after every change, and the alert count drops without blinding the camera to a real visitor. Properties with several cameras, busy streets or tricky lighting are where a professional design pays off, because the cause is usually built into the installation, not the app.
TL;DR
- Draw detection zones around the doorway, driveway or path you care about, and leave out the street, sidewalk, trees and neighbor’s property.
- Turn on person or vehicle detection if your system has it, and lower sensitivity one notch at a time, never in one big drop.
- Mount cameras so people cross the view side to side, keep them away from headlights, porch lights and glass, and clean the lens and housing.
- Change one setting at a time, then test with a real walk-up in daylight and after dark.
- If alerts stay high after the basics, the problem is usually placement or system design, and that is a job for an installer.
Table of Contents
- Why cameras send false alerts
- Step 1: Write down what a useful alert is
- Step 2: Set detection zones and masks
- Step 3: Use object detection, then tune sensitivity
- Step 4: Fix the physical causes
- Quick reference: cause and fix
- Step 5: Test like a burglar, not a homeowner
- Homes and businesses face different problems
- When a professional design beats endless tweaking
- Our perspective
- Get the placement right the first time
- FAQ
- Sources
Why cameras send false alerts
A basic motion detector watches for a change in the picture. It cannot tell why the picture changed. A branch in the wind, a car’s headlights sweeping a wall and a person at your door all look like “change.” That is the root of nearly every nuisance alert.
In New Jersey the usual suspects are easy to list:
- Weather: rain, snow and fog, especially when lit by the camera’s infrared night light.
- Insects and webs: a spider web or moth an inch from the lens is lit up by the infrared illuminator and looks like a large, fast object.
- Light changes: headlights, passing clouds, sunrise and sunset, flickering or timer-controlled lights.
- Moving plants and objects: trees, shrubs, flags, wind chimes, holiday decorations.
- Reflections: windows, glass doors, shiny floors and mirrors.
- Animals: cats, raccoons, deer, birds and pets indoors.
- Heat sources: air conditioner exhaust, heaters, fans and hot air from a passing vehicle, for cameras that use a heat-sensing (PIR) sensor.
- Screens and signs: TVs, digital displays and ceiling fans inside a business.
A review of common false-event patterns from a video-software maker lists many of these, including sunlight moving across a wall, automatic exposure shifts and traffic in a small, unimportant corner of the frame. The pattern is consistent: the camera is doing what it was told, and it was told to watch too much.
There is a real cost to ignoring this. When you start swiping away alerts without looking, you are less likely to notice the one that matters. Reducing false alerts is a security measure, not just a convenience.
Step 1: Write down what a useful alert is
Before touching a setting, decide what you want to hear about. For a home it is usually “a person on the front porch” or “a vehicle entering the driveway after dark.” For a business it might be “anyone at the rear loading door after closing.”
Then open your alert history and look at the last 20 or so notifications. Sort them into useful and nuisance, and find the one or two causes behind most of the nuisance group. Often it is a single thing: the sidewalk, a tree, one pet or one set of headlights.
This keeps you from the common mistake of lowering sensitivity everywhere to cure a problem that lives in one corner of the picture.
Step 2: Set detection zones and masks
A detection zone (or motion zone) is the part of the image the camera is allowed to react to. A mask does the opposite: it marks a part to ignore. Most systems let you draw either one in the app or on the recorder.
Good areas to exclude:
- The street, sidewalk and a neighbor’s driveway
- Trees, hedges, flags and anything that sways
- Windows that show moving trees or traffic
- TVs, monitors, digital signs and ceiling fans
- Areas where pets roam but people are not the target
Put the zone on the approach path instead: the walkway to your door, the driveway apron, the gate. Masking is often more effective than turning down sensitivity for the whole image, because the camera can still record the full picture while ignoring movement in masked areas.
There is one firm limit. Do not mask so much that someone can cross the important area without ever entering an active zone. After you draw a zone, walk the actual route an intruder would take and confirm that you trigger it.
Step 3: Use object detection, then tune sensitivity
If your cameras offer person, vehicle or animal detection, switch it on. Instead of reacting to any pixel change, the camera decides what moved and only notifies you for the categories you choose. This is the single most effective change for trees, shadows and rain, since none of those is a person.
Sensitivity is the second lever. On many systems it works as a percentage of the picture that must change before an event is recorded. Lower it for rain, insects and moving vegetation, but go down one notch at a time. A manufacturer’s troubleshooting guide notes that lower sensitivity can also reduce detection of legitimate events, which is why you retest after each step.
Some systems also let you set a minimum and maximum object size, so objects smaller than a set size, such as raindrops, webs and insects, are ignored.
A tip for avoiding alert overload: keep recording all routine motion, but send phone notifications only for high-priority events such as a person in the zone after dark. You keep the evidence without the buzzing.
Step 4: Fix the physical causes
Settings cannot fully fix a camera that is aimed or mounted badly. These are the physical changes that matter most.
Height and angle
Mount cameras high enough that people are seen from a slight downward angle, then tilt them down a little. One manufacturer’s placement guidance suggests roughly 6 to 6.5 feet for a battery camera, with an adult no more than 20 feet away, and notes that raising the camera and angling it down helps with glare. Fixed outdoor cameras covering a driveway or yard are commonly mounted higher, often in the 8 to 10 foot range, which also keeps them out of easy reach. Our camera placement guide for homeowners walks through height and angle for faces and license plates.
Direction of movement
Cameras detect people who cross the field of view more reliably than people who walk straight toward the lens, because the apparent movement is smaller. Position the camera so a walkway runs side to side across the picture. If alerts only arrive when someone is already at your door, the camera is too far away or aimed poorly.
Light and glare
Avoid aiming at headlights, the rising or setting sun, or bright lamps. Avoid backlighting, such as a porch light shining into the lens. Do not mount a camera behind glass: window reflections and infrared bounce-back create phantom motion at night. Keep cameras a few inches away from walls, soffits and posts so the infrared light does not wash out the picture.
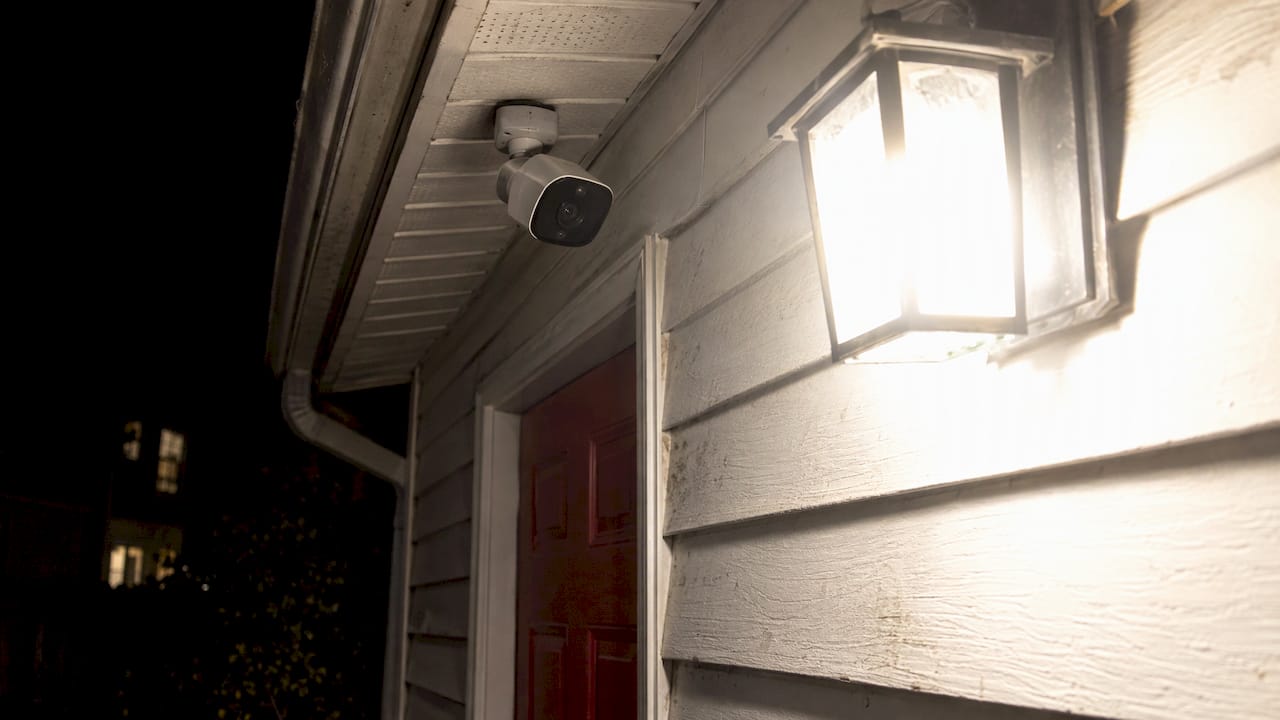
If you use floodlights, aim them to light the subject, not the lens. Bright lights that switch on with motion can also draw insects, which then trigger more alerts. Our installer checklist for security lighting for cameras covers how to light a scene evenly without blinding the camera.
East and west exposure
Cameras facing east or west struggle most with shadows, because dawn and dusk sweep long, high-contrast shadow lines across the frame. If a camera must face that way, use a tighter zone and consider moving it a few feet to change what the sun crosses.
Shelter, heat and cleaning
A soffit or overhang shelters the lens from rain and snow. Keep PIR-based cameras away from air conditioner exhaust, dryer vents and other heat sources. Wipe the lens and housing each season to clear webs and insects, and check that the mount is firm, since a vibrating camera sees the whole scene move. Our guide to security camera maintenance for homeowners gives a simple routine.
Quick reference: cause and fix
| Cause | What you see | First fix |
|---|---|---|
| Headlights at night | Alerts on every passing car | Mask the street edge, angle away, or use vehicle-aware rules |
| Trees and shrubs | Alerts on windy days | Mask the foliage, move the zone to the path |
| Rain, snow, fog | Many alerts at night in bad weather | Lower sensitivity a notch, add size filter, shelter the camera |
| Spider webs, moths | Night alerts with nothing visible | Clean the housing, trim webs |
| Sun and shadows | Alerts at dawn and dusk | Re-aim, tighten the zone |
| Pets and wildlife | Alerts at ground level | Raise the bottom edge of the zone, use animal-aware detection |
| Glass and reflections | Alerts when lights change | Move the camera off the glass, reduce glare |
| Screens, fans (business) | Alerts in empty rooms | Mask the screen or fan |
Step 5: Test like a burglar, not a homeowner
Changing settings without testing is how people end up with a quiet camera that misses a break-in. Use this routine:
- Record your current settings so you can go back.
- Change one thing at a time, starting with zones and object rules, then sensitivity.
- Walk-test: have someone approach from several directions, including straight toward the camera, and note the distance at which each alert fires.
- Test at midday, dusk and after dark. A scene that behaves at noon can behave very differently after sunset, when streetlights switch on, headlights sweep walls and infrared illumination changes the image. A recorder maker’s guidance on testing motion detection settings also recommends testing in different day and night conditions and keeping indoor lighting consistent.
- Test two kinds of movement: a person walking through the doorway should trigger an alert, while distant or minor background movement should not.
- Log what still goes wrong, with the time and cause, and fix only that.
- Give it a day or two before the next change, so you know what improved the camera.
Revisit the settings at the start of each season, after a landscaping or construction project, after a camera is moved, after a firmware update and any time alert fatigue creeps back. A new shrub that grows into the frame can undo months of tuning.
Homes and businesses face different problems
A home usually has a short list of problems: street traffic, a tree, the dog, headlights. A one-evening reset typically solves it.
A business has more variables. Warehouses, offices and storefronts deal with delivery trucks, shifting work hours, glass fronts, digital signs, ceiling fans and staff moving through zones at odd times. Settings that work during business hours may flood you with alerts after closing, or the reverse. Scheduling different rules for open and closed hours, and using different zones for the lobby and the loading dock, makes a large difference. When a system with many cameras keeps producing noise, the fix is often a redesign of camera positions and recorder rules, not another round of slider tweaks.
When a professional design beats endless tweaking
If you have tried zones, lower sensitivity and a cleaning and the alerts remain, the cause is usually one of these:
- The camera sits where it can never have a clean view, such as facing a busy road or a glass door.
- A single camera is being asked to cover too wide an area, so it is pushed to high sensitivity.
- Lighting at the property works against the camera.
- The system mixes cameras and settings that were never planned together.
These are design problems. They are solved by choosing the right camera type for each spot, placing it correctly, and setting up the recorder and alert rules together.
Our perspective
Most of the false alert complaints we hear about come down to the same thing: the system was set up for the box it came in, not for the property it ended up on. A camera aimed at a busy street will always be noisy, whatever the app says.
That is why we start with the property. We design each system around what you actually want to see and hear about, whether that is a front door, a driveway, a loading dock or a whole warehouse, and we offer free on-site evaluations so the placement is judged where the camera will really hang. We install IP camera systems, PTZ cameras, license plate recognition cameras and active deterrence cameras with video recorders, and we stay available for service and support afterward.
Getting the position right first means you spend less time muting notifications and more time trusting the ones you receive.
Tom
Get the placement right the first time
If you are in Central New Jersey and your alerts are out of control, or you are planning a new system and want to avoid the problem, we design, install and maintain camera systems for homes and businesses across Ocean, Monmouth, Middlesex, Mercer and Burlington counties. A free on-site evaluation lets us look at your property’s real sight lines, lighting and traffic. Our one-time installation fee is $99, and you can see how we handle security camera installations in New Jersey on our site.
For houses, see our home security installation service. For offices, warehouses, schools and other properties, see commercial security installation, which also covers repairs. If you want alerts to reach a professional instead of only your phone, our alarm monitoring plans are listed at $24.95 to $29.95 per month on our alarm monitoring page. You can also read how remote alerts work in home security.
FAQ
Why does my camera alert me when nothing is there?
Usually it detected a change in light or a small moving object: headlights, shadows, rain, a moth or spider web near the lens, or a swaying branch. Check the alert recordings for the time of day and cause, then adjust the zone or sensitivity tied to that cause.
Will lowering sensitivity make my camera miss a real person?
It can, which is why you change it one notch at a time and then walk-test. Masking specific problem areas and using person or vehicle detection usually works better than lowering sensitivity across the whole image.
How often should I recheck my motion settings?
Recheck at the start of each season and whenever something changes: a camera is moved, a tree or shrub grows into the frame, lighting is added, or firmware updates. If you notice yourself ignoring notifications, that is a sign to review them right away.
Can lighting cause false alerts at night?
Yes. Floodlights that switch on with motion can attract insects, and lights shining into the lens cause glare and exposure shifts. Aim lights at the subject, not the lens, and keep the camera away from glass and reflective surfaces.
Does a business need different settings than a home?
Often yes. Businesses benefit from separate rules for open and closed hours, masks over screens and fans, and distinct zones for entrances and loading areas, so the alerts you receive after closing mean something.
Sources
- Security Eye: Reduce False Motion Detection Alerts
- How to Reduce False Motion Detections on VIGI Cameras (TP-Link U.S. support)
- Learn about camera placement, Google Home and Nest Help
- Testing motion detection settings, Security Center Administrator Guide 5.12