
To watch something that happened earlier, open Remote Playback, set the time range, and drag in the camera. These steps assume your recorder is already connected in NVMS V3.
Start playback
- Open NVMS V3.
- Go to Main Menu → Remote Playback.
- Leave Camera Playback selected.
- Select the date and enter a start and end time covering the event.
- Click OK.
- Drag the desired camera from the list into a playback window.
- Playback should begin. Confirm the camera name and the timestamp on the picture.
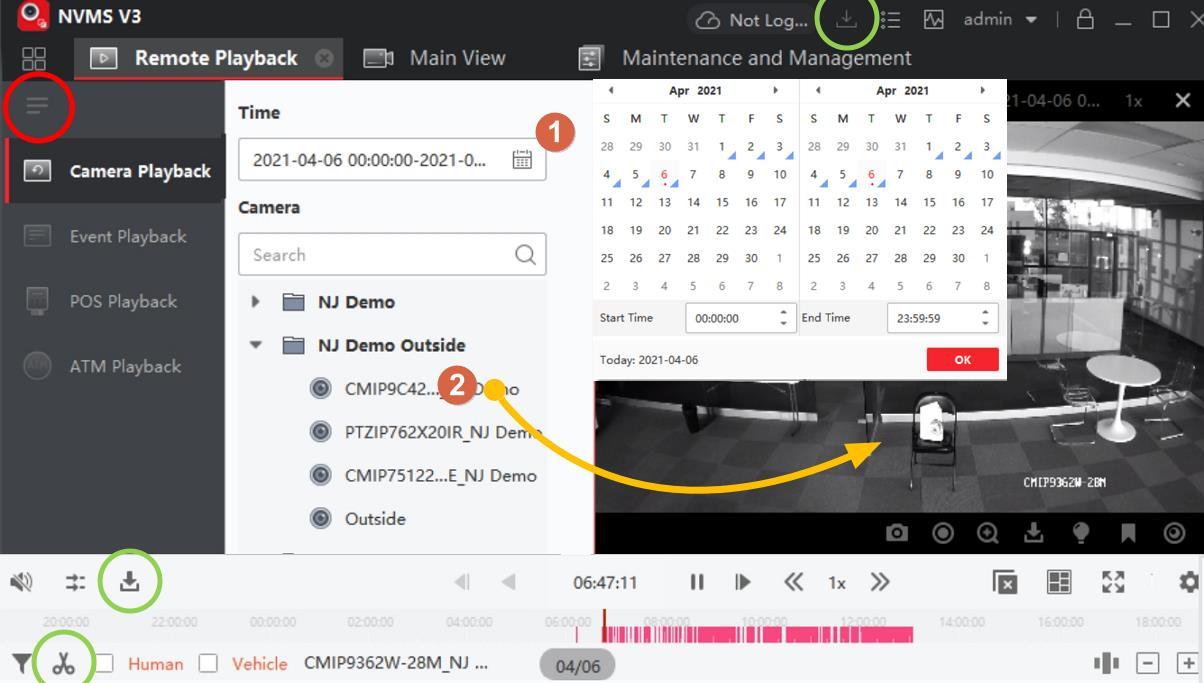
Start just before the event. A short, relevant time range is easier to review than a whole day. Include a little time on either side so you do not miss what led up to it.
Move to the moment you need
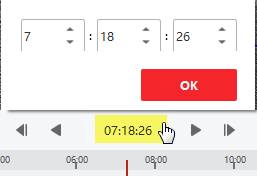
Use the timeline and playback controls to move through the selected period. Pause to inspect a moment, resume to follow the action, or adjust speed where available. To review another day, change the date/time range and confirm it before opening the camera again.
For a precise jump, the documented client also offers Accurate Positioning in the video’s right-click menu.
Review more than one camera
Add another camera when you need a second angle. Synchronous playback keeps views together; asynchronous playback lets each window run at its own time. Check the displayed timestamps when comparing what happened across cameras.
A control may be unavailable. Connection type, recorder capabilities, and the selected playback mode can affect speed and reverse playback. If a control is disabled, use the timeline to choose an earlier time and play forward.
Save a short clip when needed
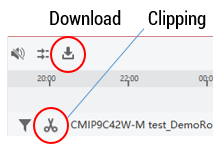
After locating the event, use Download or Clipping. Set the desired start and end points within the searched range, then check the download progress. Use Open Folder to find a completed download and verify it plays before relying on the copy.
If no video appears
Recheck the camera and time range first. Make sure you are in Remote Playback rather than Main View. If the same search still returns nothing, send CJSC the camera name, date, approximate time, and any error message. Include whether you can see that camera live.
Need help with the camera list or layouts? Start with Using NVMS V3 on a Windows PC.
Reference
The core workflow was checked against the LTS NVMS V3 Quick Operation Guide. Button placement can vary between releases.